Teaching your dog basic commands is one of the most valuable things you can do as a pet parent. It strengthens your bond, improves communication, and creates a foundation for better behavior — at home, on walks, and in public.
The good news? You don’t need to be a professional trainer. With a few simple tools, consistency, and patience, you can teach your dog to respond reliably to essential cues.
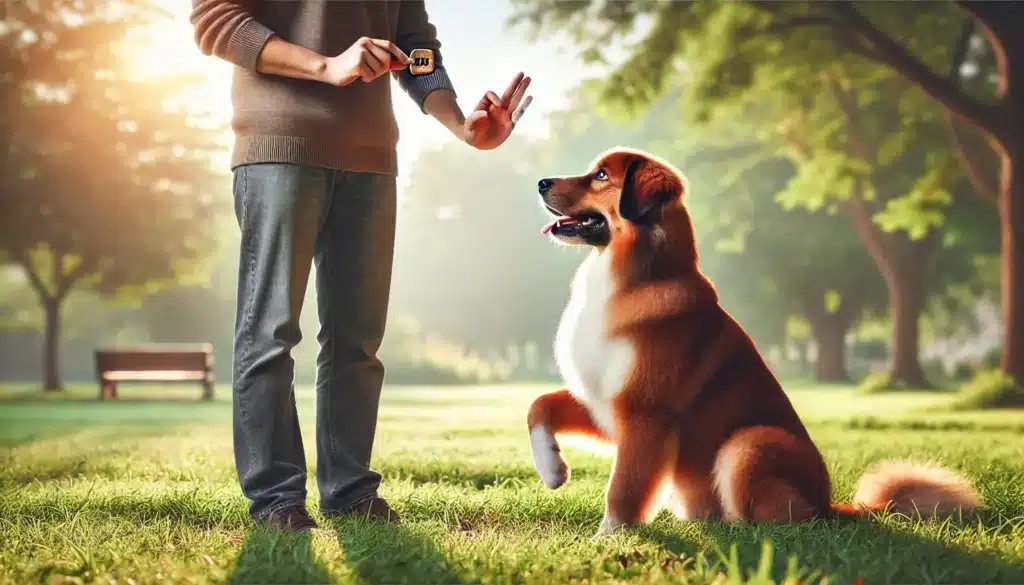
In this guide, we’ll cover the top basic commands every dog should know, how to teach them step by step, and tips to make training both effective and fun.
Why Basic Commands Matter
Training isn’t just about obedience — it’s about safety, trust, and peace of mind.
Well-trained dogs are:
- Safer: They stop before running into traffic, come when called, and avoid dangerous items.
- More welcome in public: A dog that can “sit” or “stay” behaves better at parks, cafés, and around guests.
- Easier to live with: Less jumping, barking, or pulling means a calmer, happier home.
- More confident: Knowing what’s expected helps reduce anxiety and confusion.
Training Tools You’ll Need
- High-value treats (small, soft, and irresistible)
- Clicker (optional — for clicker training)
- Leash and harness (for control and redirection)
- A quiet, distraction-free environment (especially for beginners)
- Short, frequent sessions (5–10 minutes at a time)
1. Sit
Why it’s important:
“Sit” is the most universal command. It helps calm your dog, stop jumping, and begin polite behavior.
How to teach it:
- Hold a treat close to your dog’s nose.
- Slowly lift your hand up — their nose will follow, and their bottom will naturally lower.
- The moment they sit, say “Yes!” (or click) and give the treat.
- Repeat 5–10 times per session.
- Add the verbal cue “Sit” right before they perform the motion.
Pro tip: Practice before meals or walks — when your dog is motivated to earn something.
2. Stay
Why it’s important:
Keeps your dog in one spot, preventing running off, jumping on people, or entering unsafe areas.
How to teach it:
- Ask your dog to sit.
- Hold your palm out like a “stop” sign and say “Stay.”
- Take one small step back.
- If your dog doesn’t move, say “Yes!” and reward.
- Gradually increase the distance and duration.
- If they break the stay, calmly reset and try again.
Pro tip: Release your dog with a word like “Okay!” so they learn when it’s safe to move.
3. Come
Why it’s important:
A reliable recall is crucial for safety — especially off-leash or in emergencies.
How to teach it:
- Start indoors or in a fenced yard.
- Crouch down, open your arms, and say “Come!” in a cheerful tone.
- When your dog comes, reward generously — treats, praise, even play.
- Never scold when they return, even if they were slow.
- Practice with a long leash before going off-leash.
Pro tip: Always make “Come” a positive experience — don’t use it only to end fun (like leaving the park).
4. Down
Why it’s important:
“Down” signals calmness and control — helpful in busy or overstimulating situations.
How to teach it:
- Ask your dog to “Sit.”
- Hold a treat to their nose, then slowly lower it to the floor between their front paws.
- As they follow, their chest will lower.
- When elbows hit the ground, say “Yes!” and reward.
- Add the cue “Down” once they begin to understand the motion.
Pro tip: Avoid pushing your dog into position — use gentle luring and patience.
5. Leave It
Why it’s important:
Prevents your dog from picking up dangerous items (like food, trash, or sharp objects).
How to teach it:
- Place a treat in your closed hand.
- Let your dog sniff, lick, or paw at it — but don’t open your hand.
- When they back off or look away, say “Yes!” and reward from your other hand.
- Add the cue “Leave it” before presenting the temptation.
- Progress to placing treats on the floor and covering with your hand.
Pro tip: Reward for ignoring — not just for walking away.
6. Wait
Why it’s important:
Helps with impulse control — useful at doors, during feeding time, or before exiting the car.
How to teach it:
- Ask your dog to “Sit” in front of the door or bowl.
- Say “Wait” while holding your hand out.
- Slowly open the door or lower the bowl.
- If your dog moves, close the door/lift the bowl and reset.
- When they pause for a few seconds, release with “Okay!” and reward.
7. Drop It
Why it’s important:
Useful for safely retrieving items from your dog’s mouth — especially in emergencies.
How to teach it:
- Offer a toy your dog enjoys.
- While they’re holding it, present a high-value treat.
- When they drop the toy to take the treat, say “Yes!” and reward.
- Add the cue “Drop it” just before you present the treat.
Practice with non-dangerous items first, and never play tug-of-war over harmful objects.
Tips for Training Success
- Keep sessions short and positive: End on a high note, not when your dog is tired or frustrated.
- Train every day: Even 5–10 minutes daily adds up fast.
- Use real-life rewards: Ask for a “Sit” before putting the leash on or giving a toy.
- Be patient: Dogs learn at different speeds. Repetition builds reliability.
- Don’t repeat commands: Say it once, wait, then try again — avoid teaching them to ignore you.
- Celebrate progress: Every little success is a step toward better communication.
Final Thoughts: Clear Commands = Strong Connection
Teaching your dog basic commands isn’t just about obedience — it’s a language of love and respect. When your dog understands what you’re asking and trusts how you teach, you unlock a deeper level of connection and cooperation.
Consistency. Patience. Praise. Those are your greatest training tools — and your dog will thank you every time they succeed.